|
 |
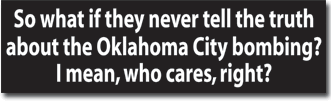
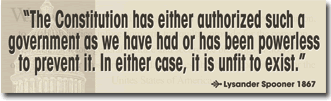
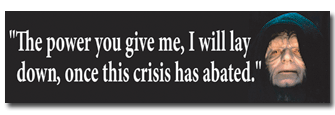
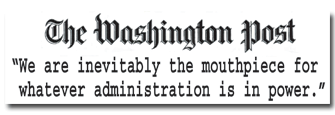
Just do it: Sticker
the message
Right click on a graphic to either Save
Image (download it) or Copy Image. You can then
print the graphic on Avery mailing labels - or a
similar product.  Avery's Design
Pro software makes it a breeze to create
labels, business cards, etc. (Try to find a
package of Avery labels that includes the Design
Pro software. Or, download a free copy of Design
Pro Limited - i gather 'limited' just means
you get fewer pre-designed templates.) Avery's Design
Pro software makes it a breeze to create
labels, business cards, etc. (Try to find a
package of Avery labels that includes the Design
Pro software. Or, download a free copy of Design
Pro Limited - i gather 'limited' just means
you get fewer pre-designed templates.)
Instructions below
show how easy it is to use Avery Design
Pro.
 For
the Bring Me Home army men project,
right-click one of these links to
download: their page of labels (pdf file) or, if you are
using Avery Design Pro, you can use this (zdp file) shown right. For
either file, you'll want to use Avery paper stock
5167/8167 - or any other brand that has 80 labels
to a page, ½" x 1 ¾". (There are 2
army men stickers per label.) For
the Bring Me Home army men project,
right-click one of these links to
download: their page of labels (pdf file) or, if you are
using Avery Design Pro, you can use this (zdp file) shown right. For
either file, you'll want to use Avery paper stock
5167/8167 - or any other brand that has 80 labels
to a page, ½" x 1 ¾". (There are 2
army men stickers per label.)
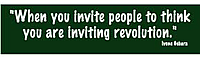
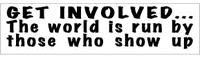
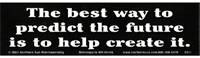
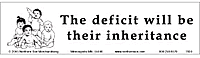
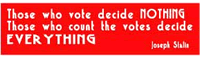
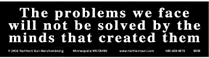
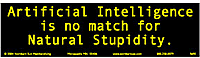
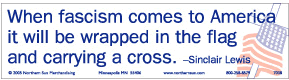
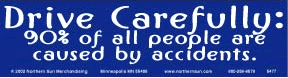
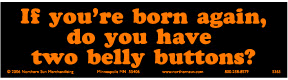
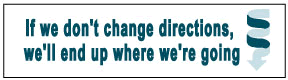
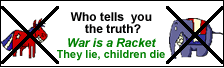
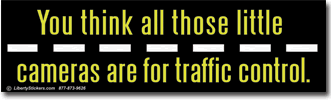
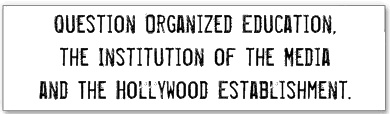
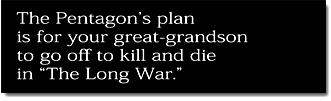
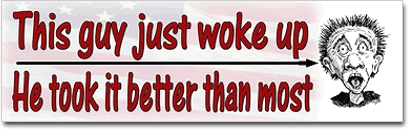
Some labels - resized to fit on this page are difficult to
read here; they'll print fine if you expand them.
Scroll or jump to: Liberty
stickers | Zazzle
| Northern
Sun | Custom
- Misc
Avery has lots of mailing label
sizes to choose from. Every Avery package has a
product number at top right. I use product #8160
to make envelope and return-address stickers; the
stickers are 1" x 2 5/8". Here are the
steps for using Avery Design Pro to set up your
label and print an entire sheet or any number of
individual labels.
-
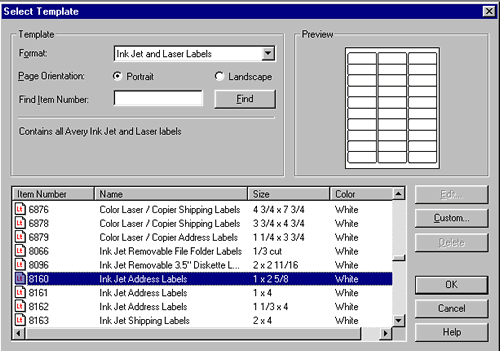
Open Design Pro, and
click on Create a Project from Scratch.
Use Template options at the top of the
Select Template dialog box to choose a
product category (like Ink Jet and
Laser Labels, as shown below). Then
select your label product among the item
numbers in that category, listed at the
bottom (eg, 8160). (If you use
another company's stock, just find the
Avery template that matches it.) Click
OK.
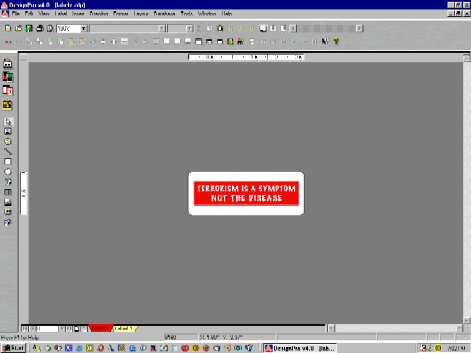
Design Pro will open up a workspace for
you to create your label:
-
(You can use the tools
at the top and left-side of the workspace
to create a custom label.) If you
downloaded a graphic, click Insert/Image
from File and use the navigation
buttons at the top of the Insert Picture
dialog box to locate the file on your
computer, select it and click Enter. Quickest
method if you don't want to save the
image: on this page, right-click on the
image you want to use, choose Copy
Image, then Paste it onto the
label space in Design Pro. Now, right-click the image
and choose "size to template'; or right-click and select
Properties and then increase the size
using the Properties Dialog box.
-
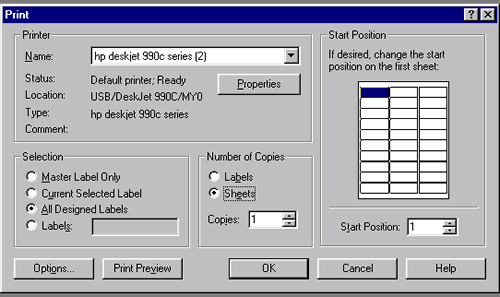
To print one or more
labels, click File/Print. Design
Pro returns the Print dialog box. The
image below illustrates the beauty of
Design Pro. The Print dialog box lets you
choose a label position to start printing
from (handy if you already printed some
labels from a sheet of paper). You can
print a number of labels, or a number of
whole sheets (in this case, 30 labels per
sheet). I like to print 1 draft label
first, to make sure everything looks good
(you could do that on regular paper,
holding your draft output up to the Avery
paper to verify that label placement is
correct).
Load your paper into the printer,
optionally edit Properties (eg on the HP,
you can print in Draft, Normal, or Best
mode) and click OK to print.
-
Save your project so you
can print more labels later.

|
|
|


.gif)
.gif)
.gif)
.gif)
.gif)
.gif)
.gif)
.gif)
.gif)
.gif)
.gif)
.gif)
.gif)
.gif)
.gif)
.gif)
.gif)